
shoe rack reinvented
in this latest post, i have taken an average shoe rack and added a dash of whimsy using fabric & one of my favorite craft supplies: mod podge!
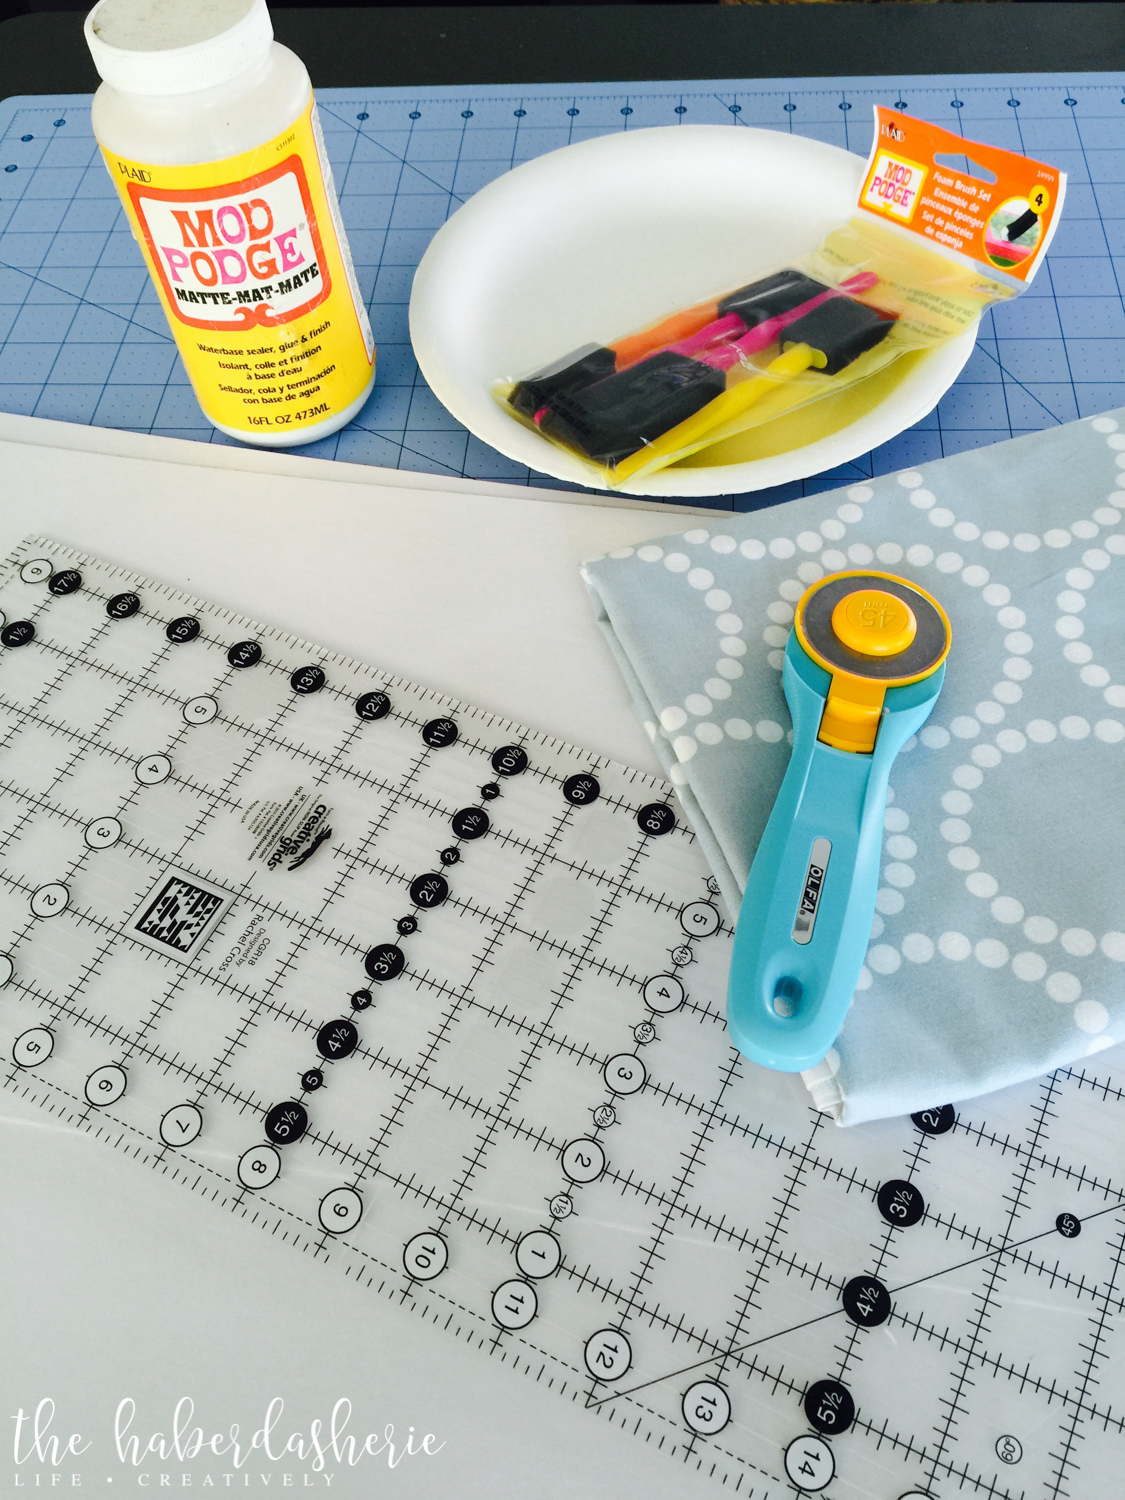
to collect:
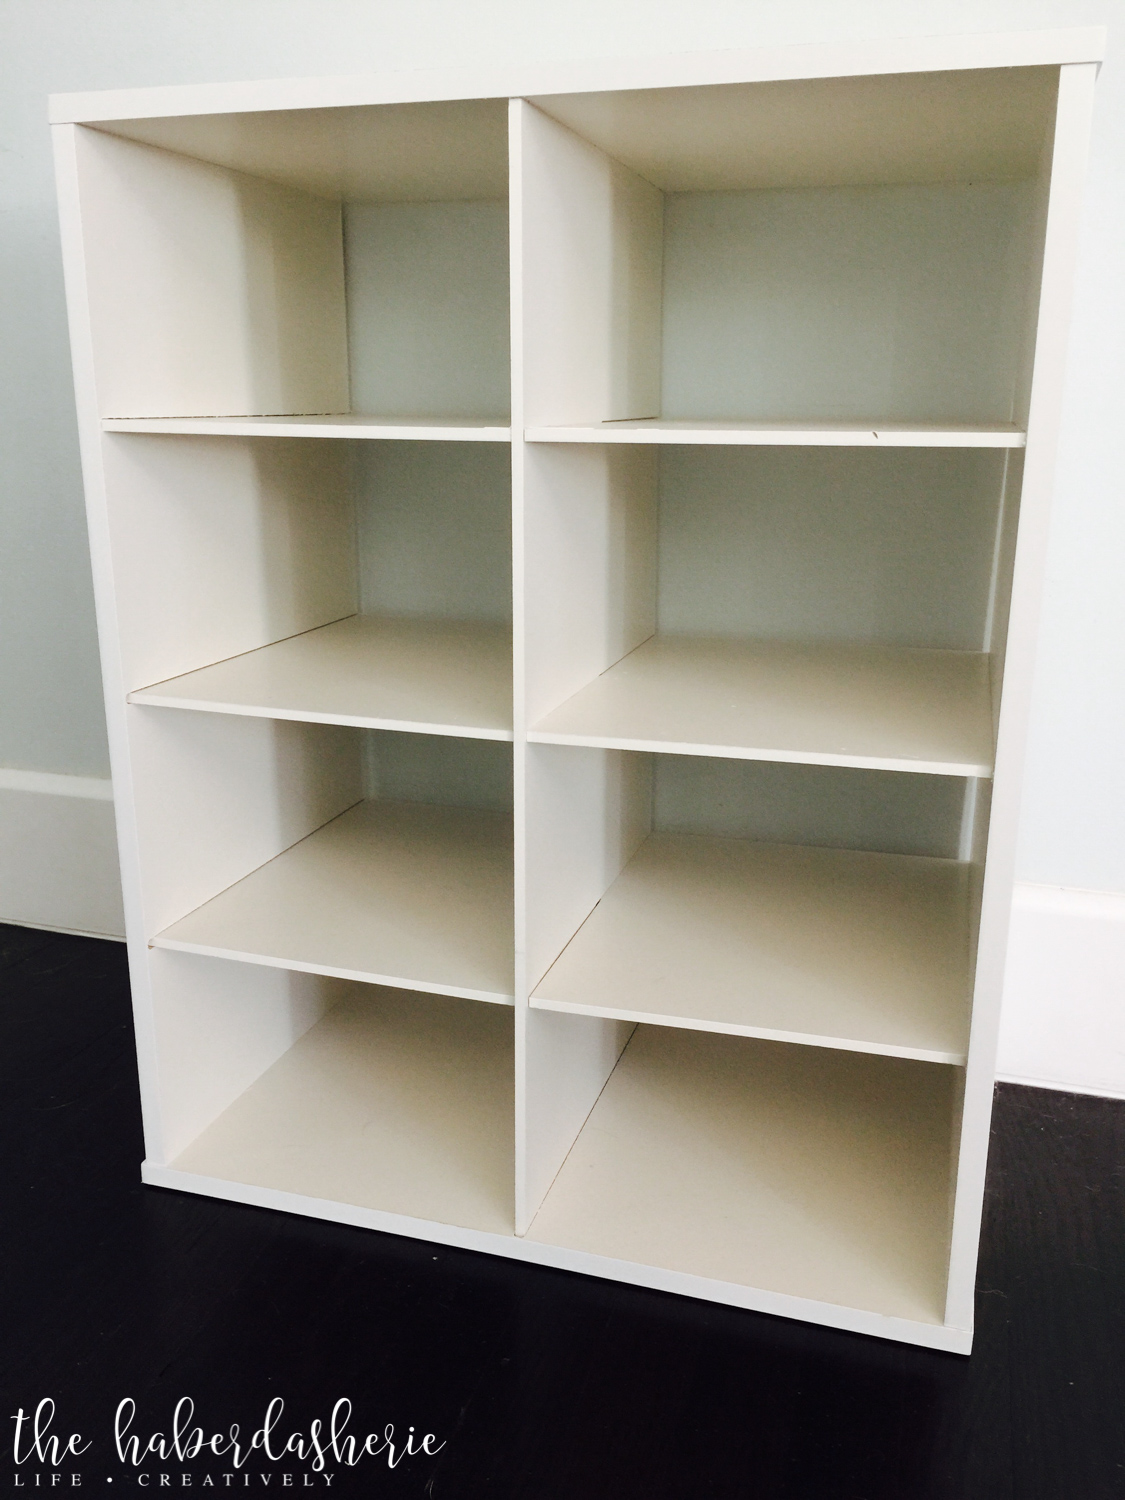
- a shoe rack {i purchased this particular rack from the container store, and measures 19"x24"}
- fabric of choice {i chose 'pearl bracelets' by lizzy house}
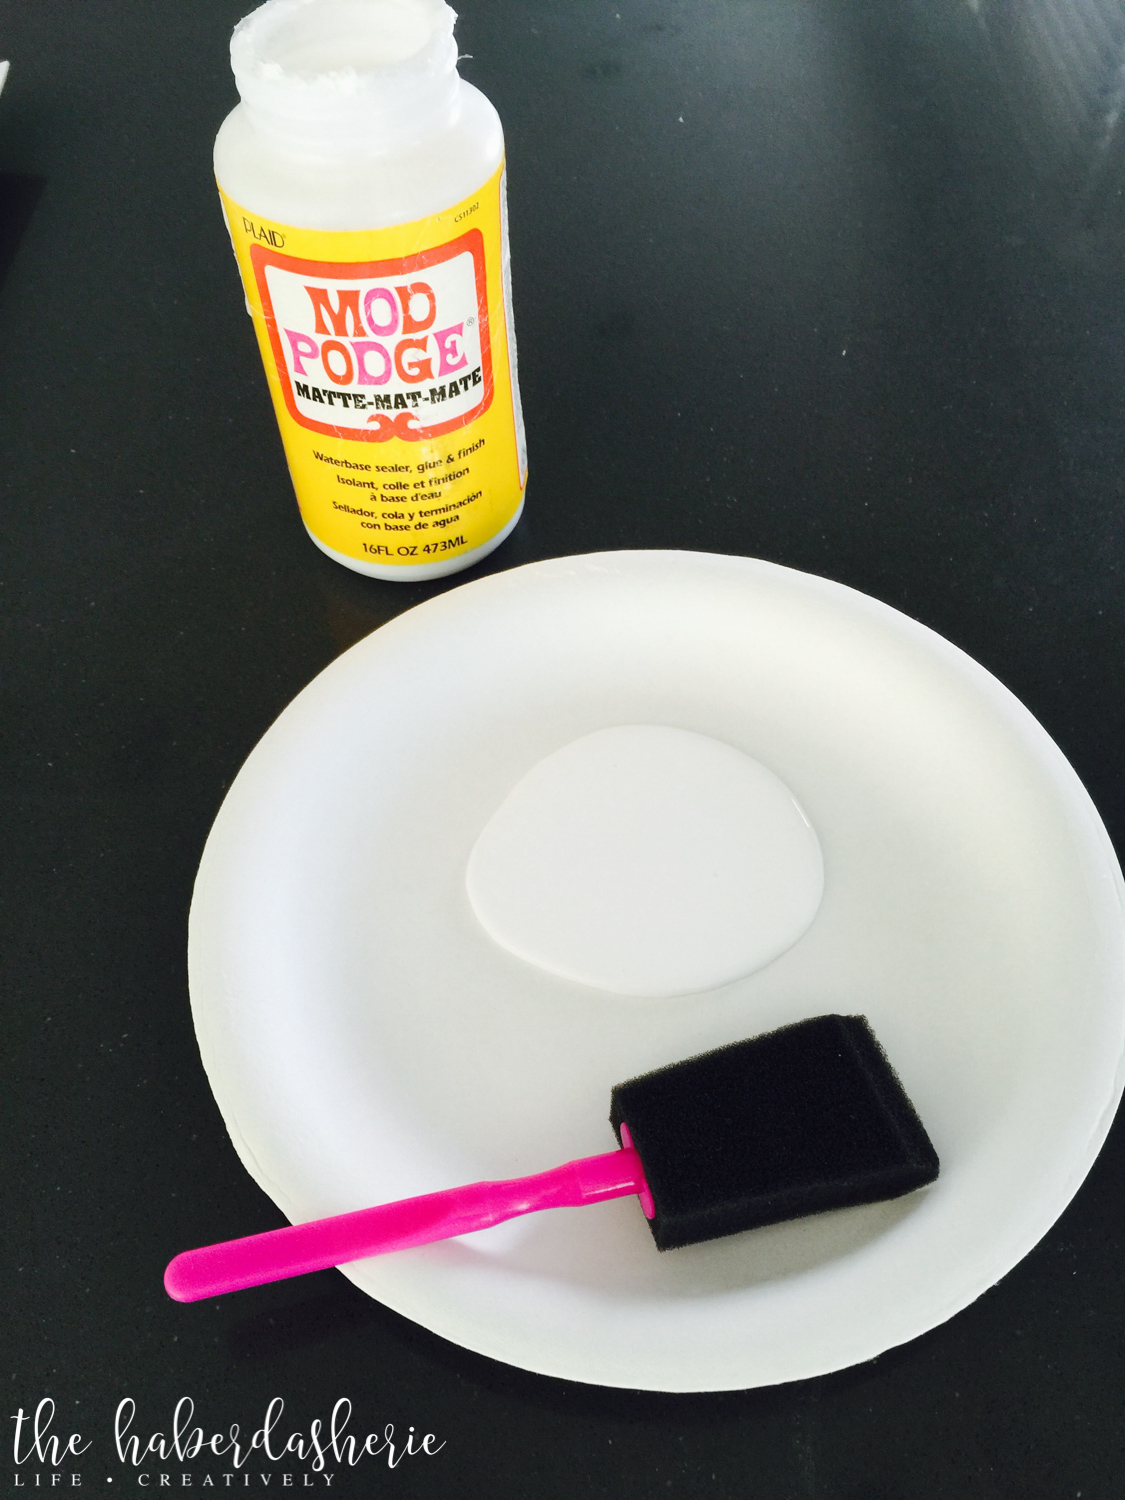
- mod podge + foam brush
- glue gun + glue sticks
- rotary cutter + mat + ruler or scissors
to do:
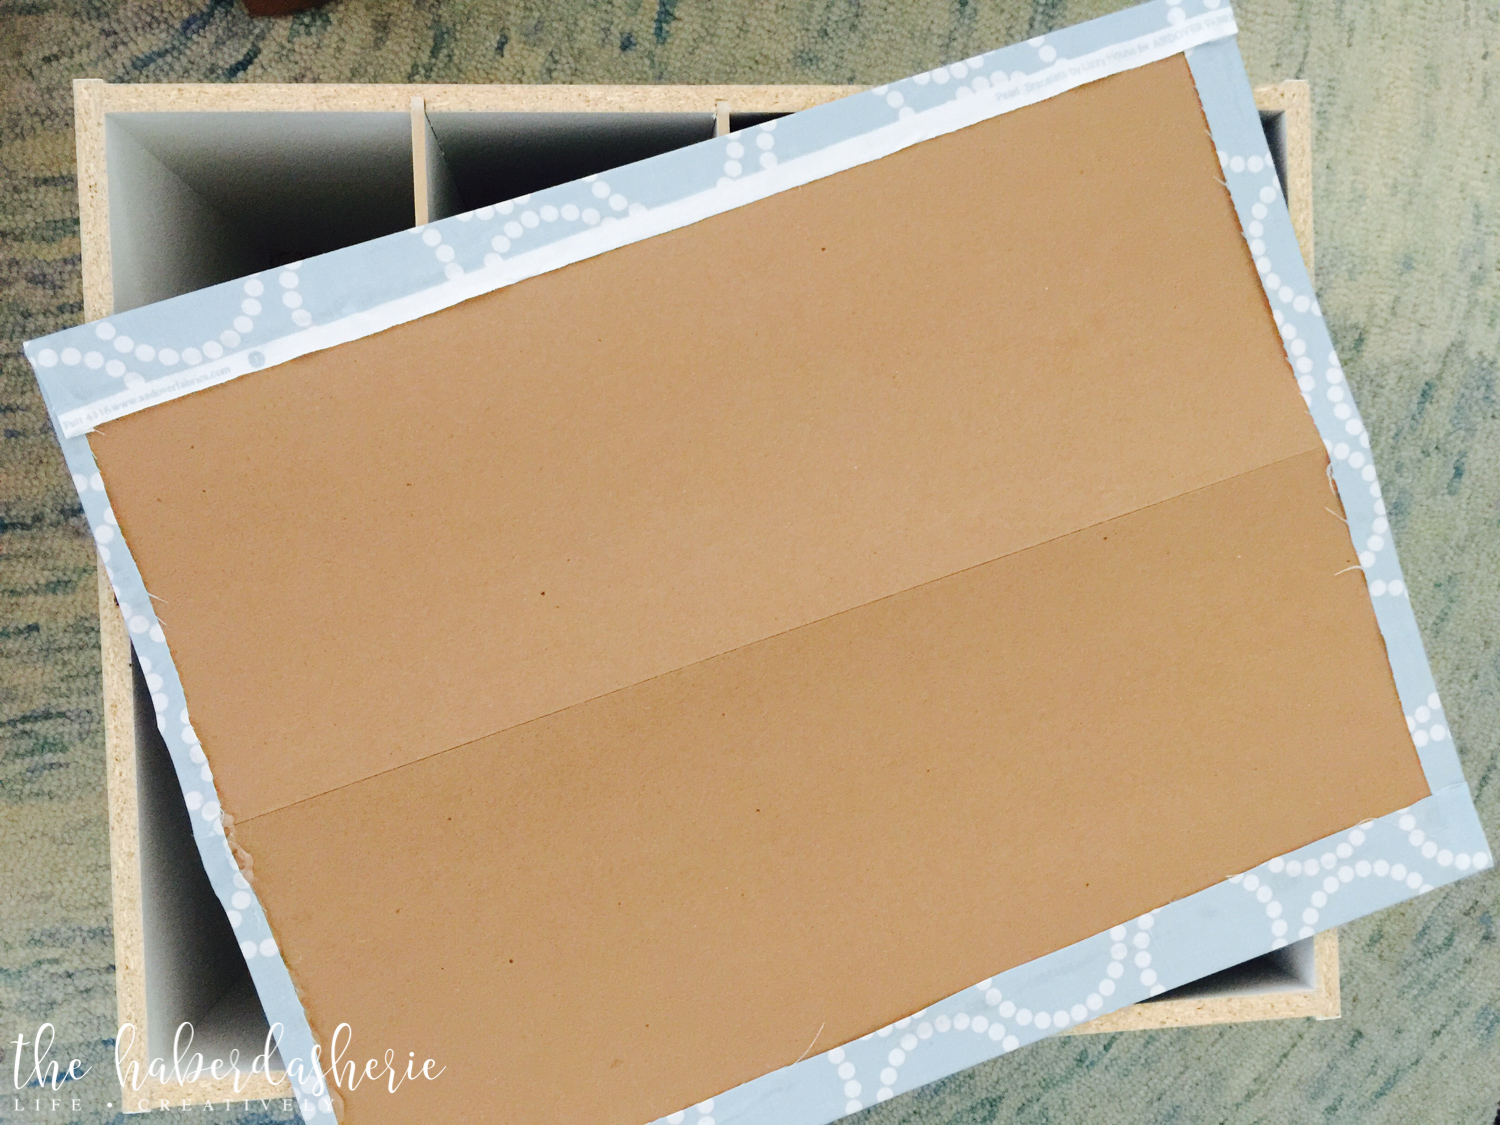
cut the fabric:
- lay the shoe rack backing on top of your fabric of choice.
- using scissors or your rotary cutter + ruler, cut the fabric so approximately one inch or more extends beyond all four sides of your shoe rack backing piece {see pic}. in my case, the backing was 19"x24", so i cut the fabric a bit larger than 21"x26" --- it's okay for the fabric to be a bit larger

attaching fabric:
- after cutting your fabric down to size, it's time to attach it to the shoe rack backing piece.
- grab your mod podge, and pour a fair amount onto a paper plate {easy clean up later}.
- dab sponge brush and begin brushing the mod podge onto the backing piece --- work quickly, getting a fair amount of mod podge spread over the entire piece.
- lay your fabric on top of the mod podged backing piece, leaving 1"+ of fabric hanging over all four sides.
- begin from the middle, and use your fingers to smooth the fabric out towards the edges {removing bubbles}
{mod podge will seep through the fabric, but don't fear! it will dry and be unnoticeable}

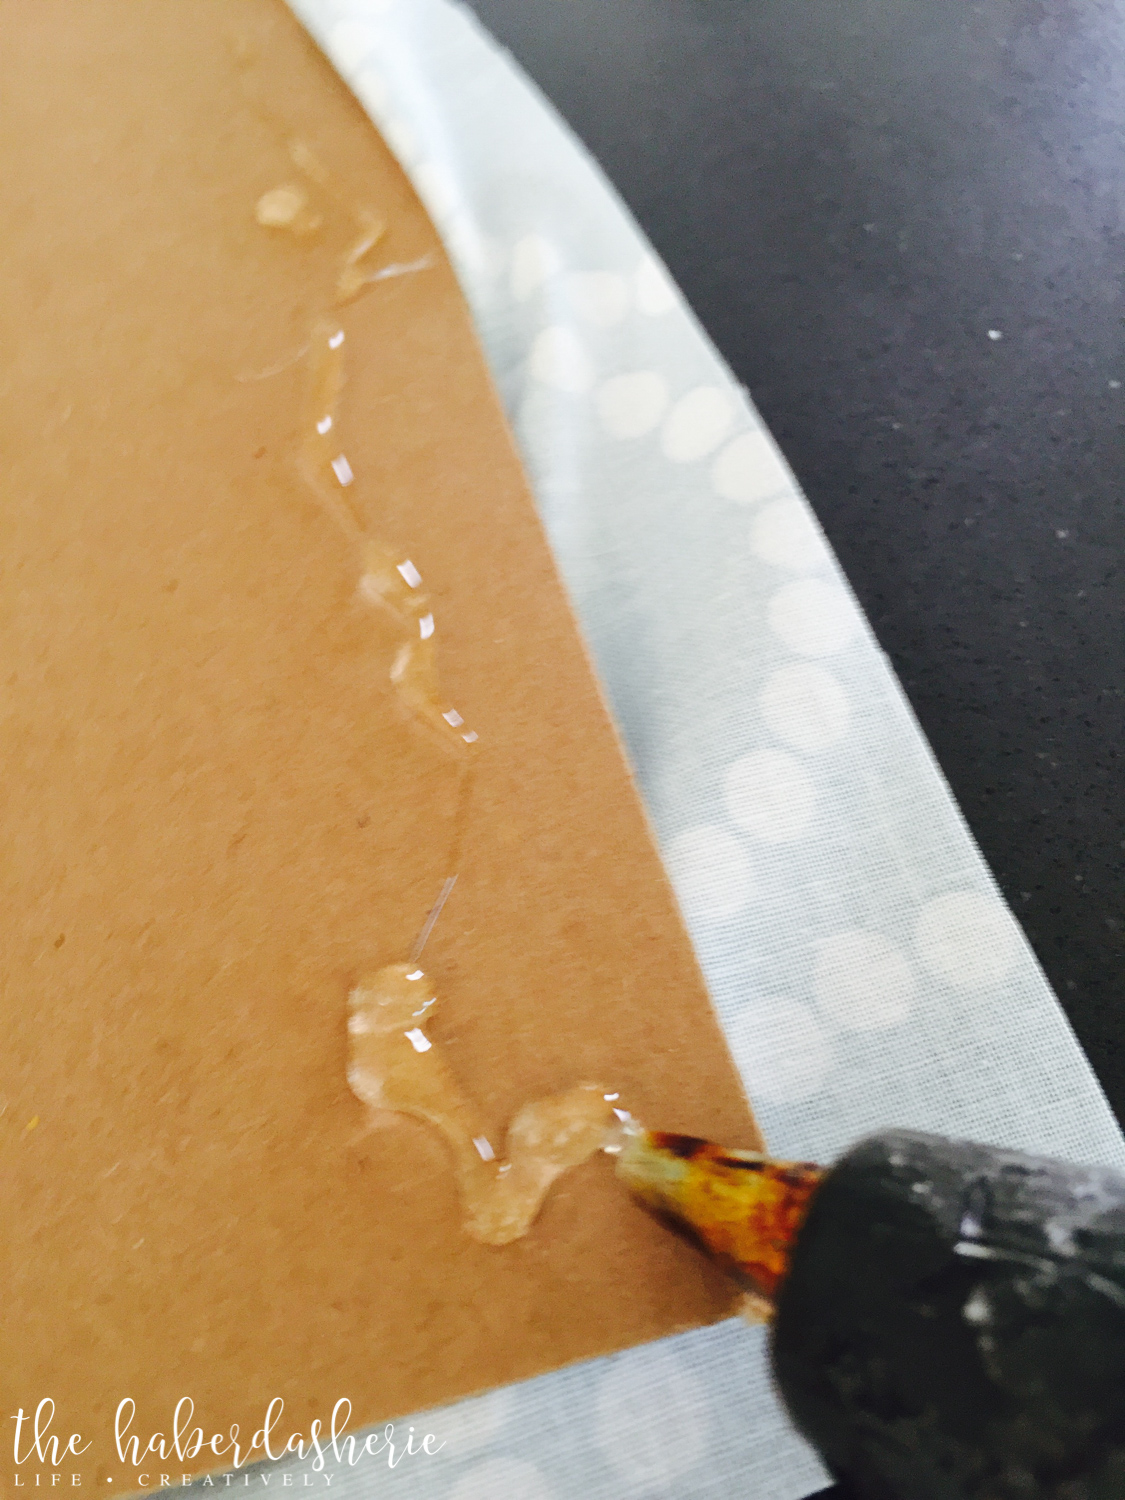
securing remaining fabric to the back:
- flip the entire piece over.
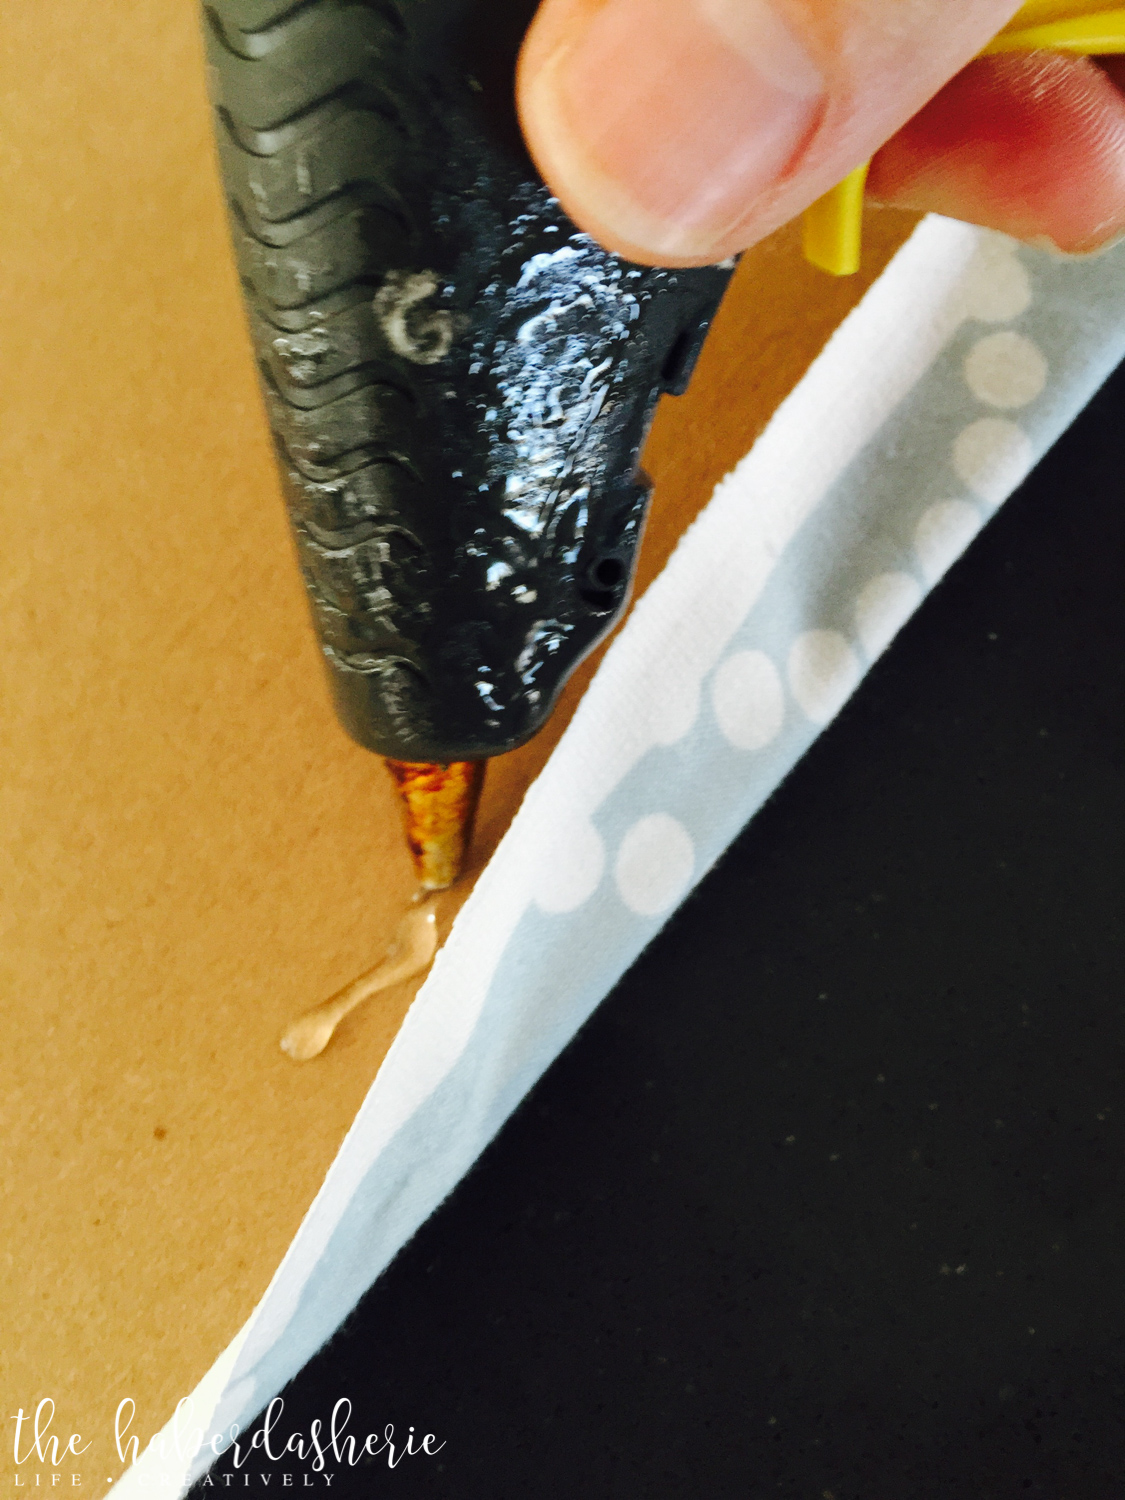
- turn on your glue gun.
- in 4-6" sections, apply glue, fold fabric over/pull tight and attach to shoe rack back.
- continue along all four edges.
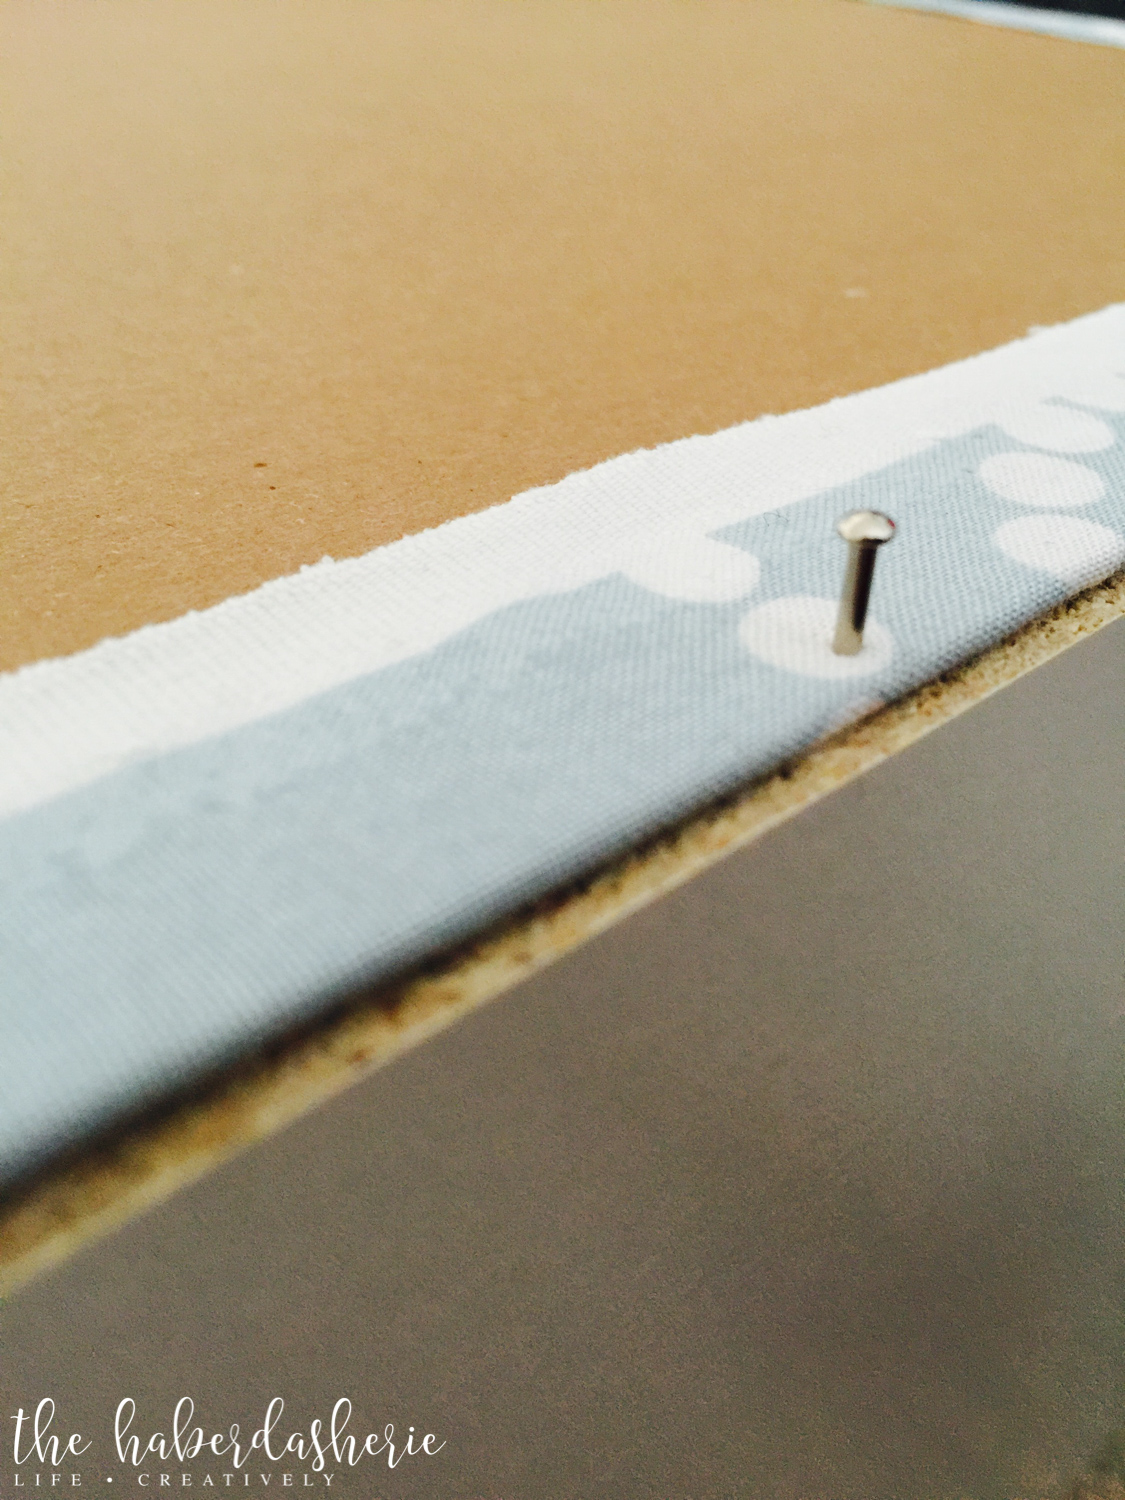
attach backing piece to shoe rack:
- nail backing to the main shoe rack piece, approximately 6" apart.