

a creative final touch: quilt label tutorial
when your quilt project is finished... the binding attached... it's time to make your final mark, adding a creative touch, by labelling your quilt!
here, i will give you the tools to make a simple quilt label, with ideas to add whimsy...
{adding a label to your quilt gives future generations the knowledge of a) when the piece was made, b) by whom, c) who it was made for, and oftentimes d) where it was made}

the first step in creating your quilt label involves figuring out what you'd like to say!
for me, i find it easiest to go to my computer... type out what i like, and edit edit edit!
i also like to visually see what it's going to look like, before i begin the process of making/creating the label...
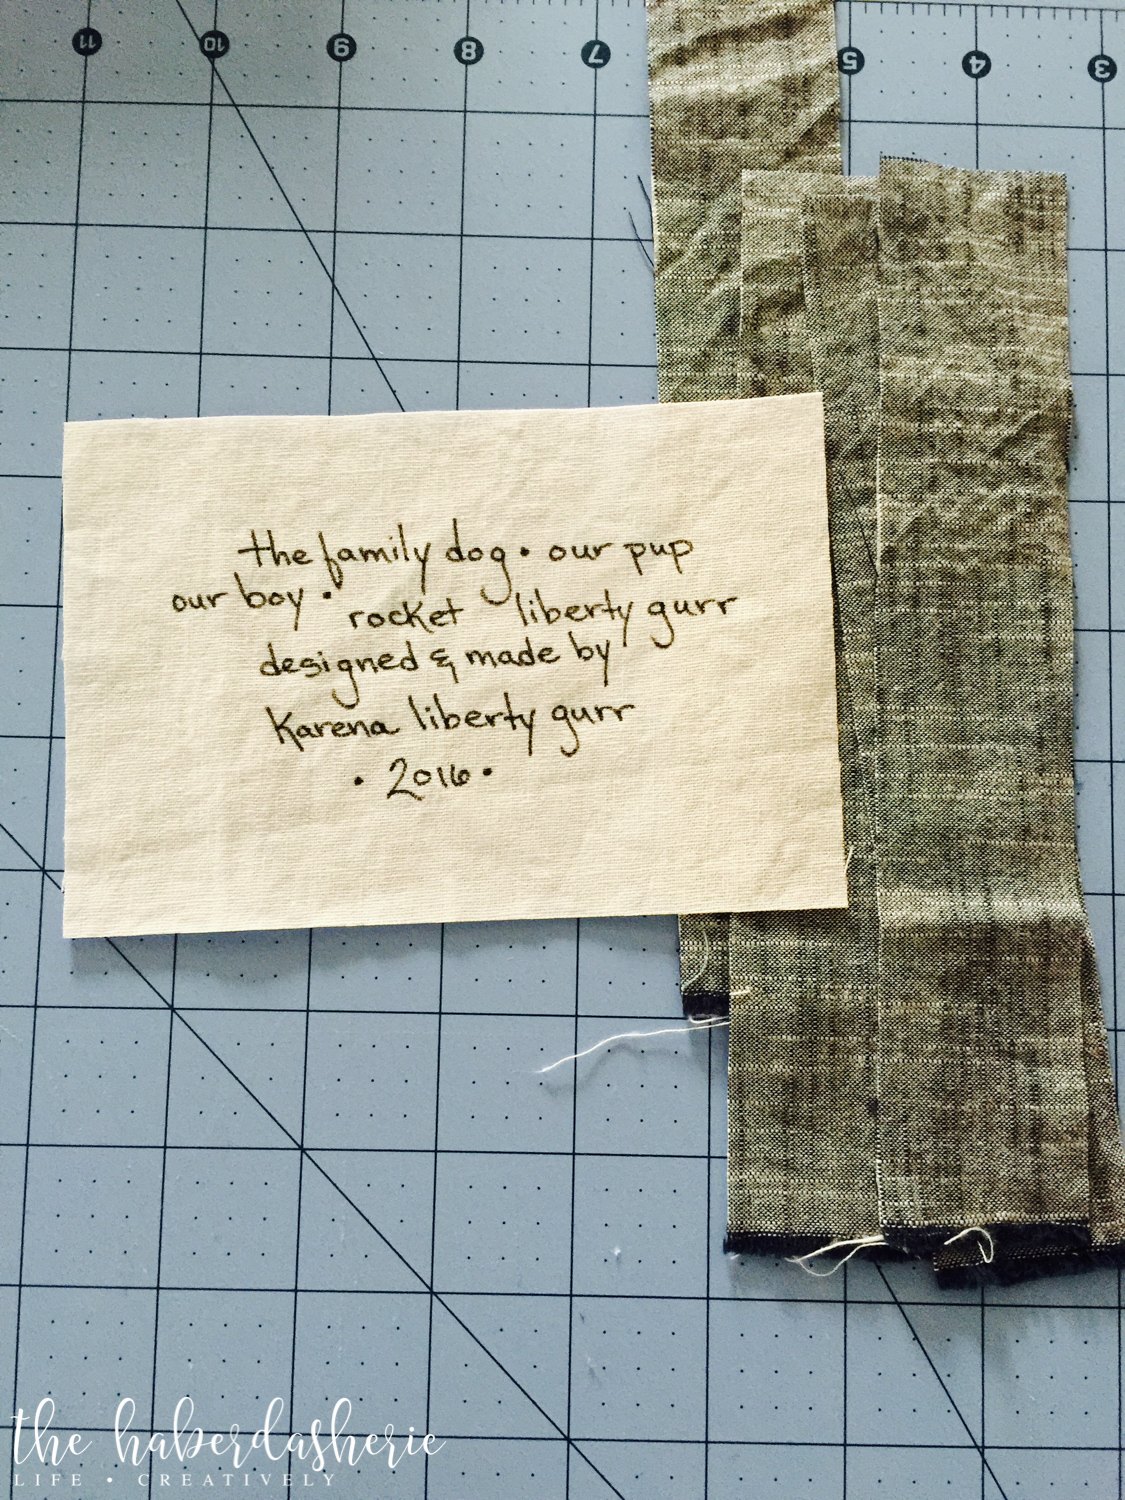
{in this example, i am making a label for a large lap-sized quilt i recently made of the family dog, rocket}


to collect:
- a scrap piece of white or muslin fabric,
- various scraps from the quilt itself, to create a border,
- a fabric pen,
- fine grit sandpaper,
- ruler & rotary cutter,
- iron,
- needle & thread
to do:
once you've figured out what you want to say,
it's time to start writing!
- lay your white/muslin fabric on top of your sandpaper
{the sandpaper keeps the fabric in place, so it will not move or stretch while writing -- a fine grit of sandpaper is smoother in texture, so you won't have to deal with a bumpy writing surface} - begin writing your message on the fabric using a fabric pen
{i personally like the pentel gel roller for fabric}
{do not worry if you mess up --- just start again on a different scrap of fabric} - when you've finished writing your message, trim the fabric piece down to a square or rectangle, allowing for seam allowances.
{use scissors or your rotary cutter & ruler}

- cut strips of your remaining scrap fabrics, from the project itself, & sew borders to your written label
{i like to add a 1" border to my labels, so cut the strips of scrap fabrics 1.5" in width to allow for seam allowance}
{i usually sew two opposing sides first, iron, then the remaining two opposing sides --- see below}


- once all four sides are sewn & pressed, flip the label over & iron the edges inward 1/4"


- decide on where you'd like to place your label
{i usually put mine on the back of my quilts, but have been known to put them on the front!}
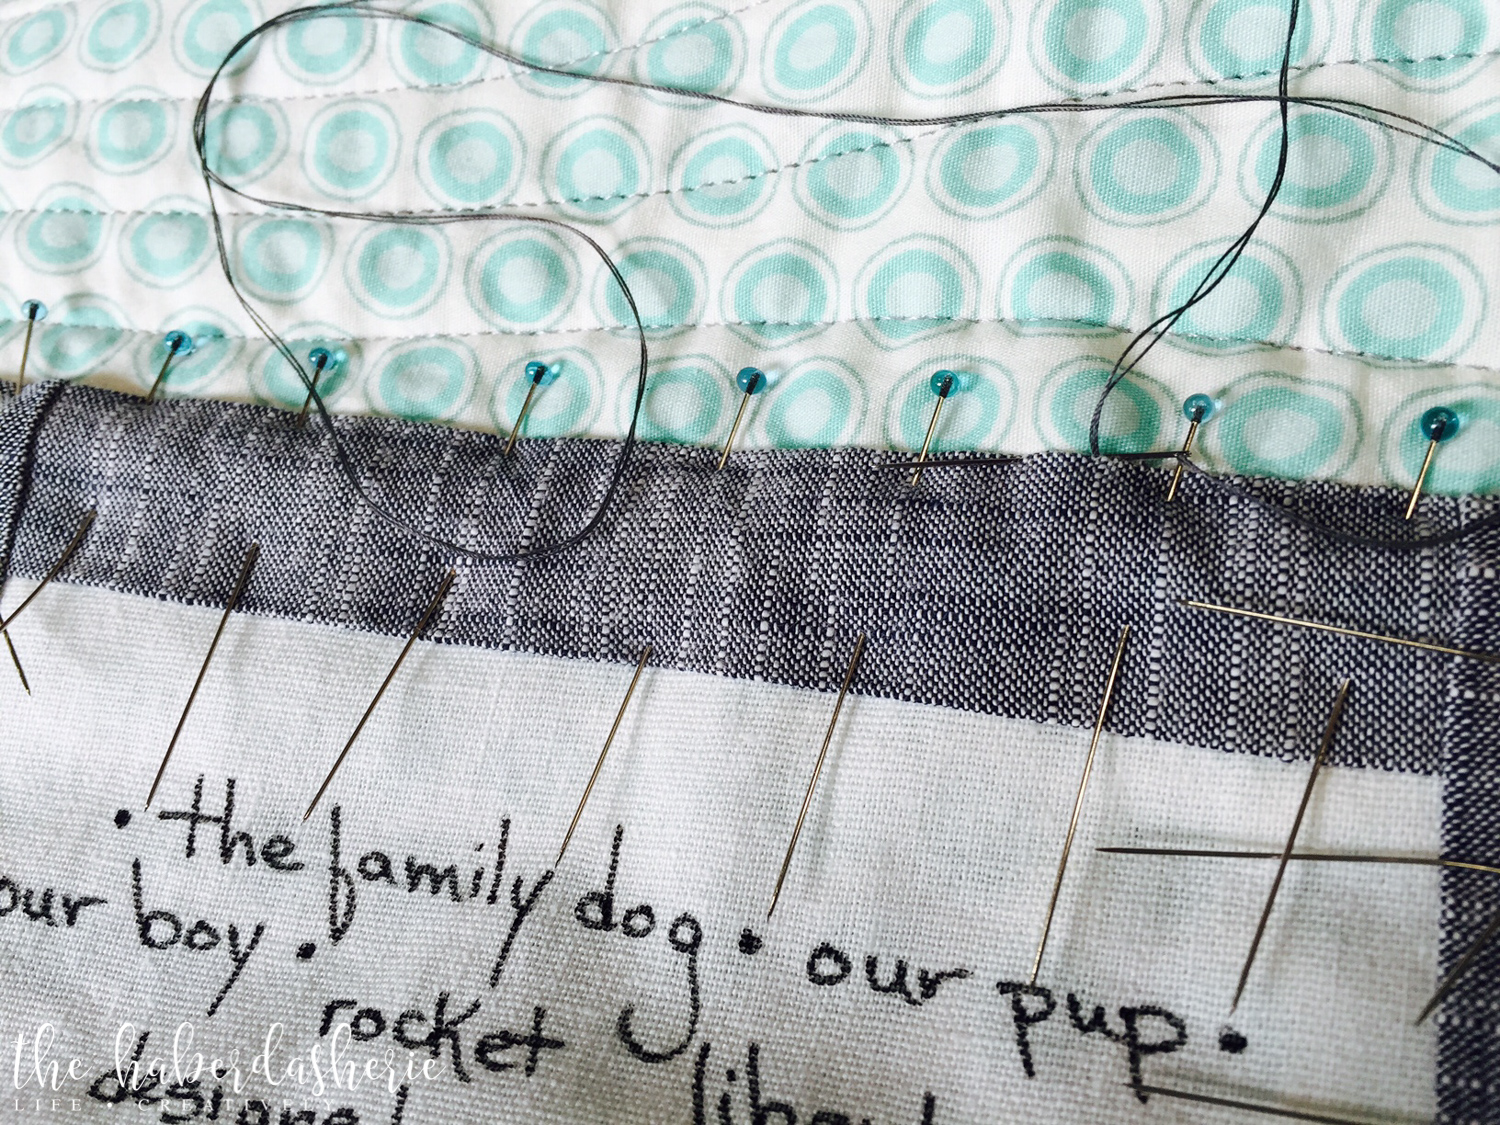
{i also like to place them near the quilt edge, either in a corner, or centered} - pin pin pin!
- applique the label to the quilt itself, using an invisible slip stitch
{be careful not to allow your needle to go completely through all layers, to the other side of your quilt --- you do not want your stitches to be visible on the other side!}


there are lots of ways to add whimsy or a personal touch to your quilt label...
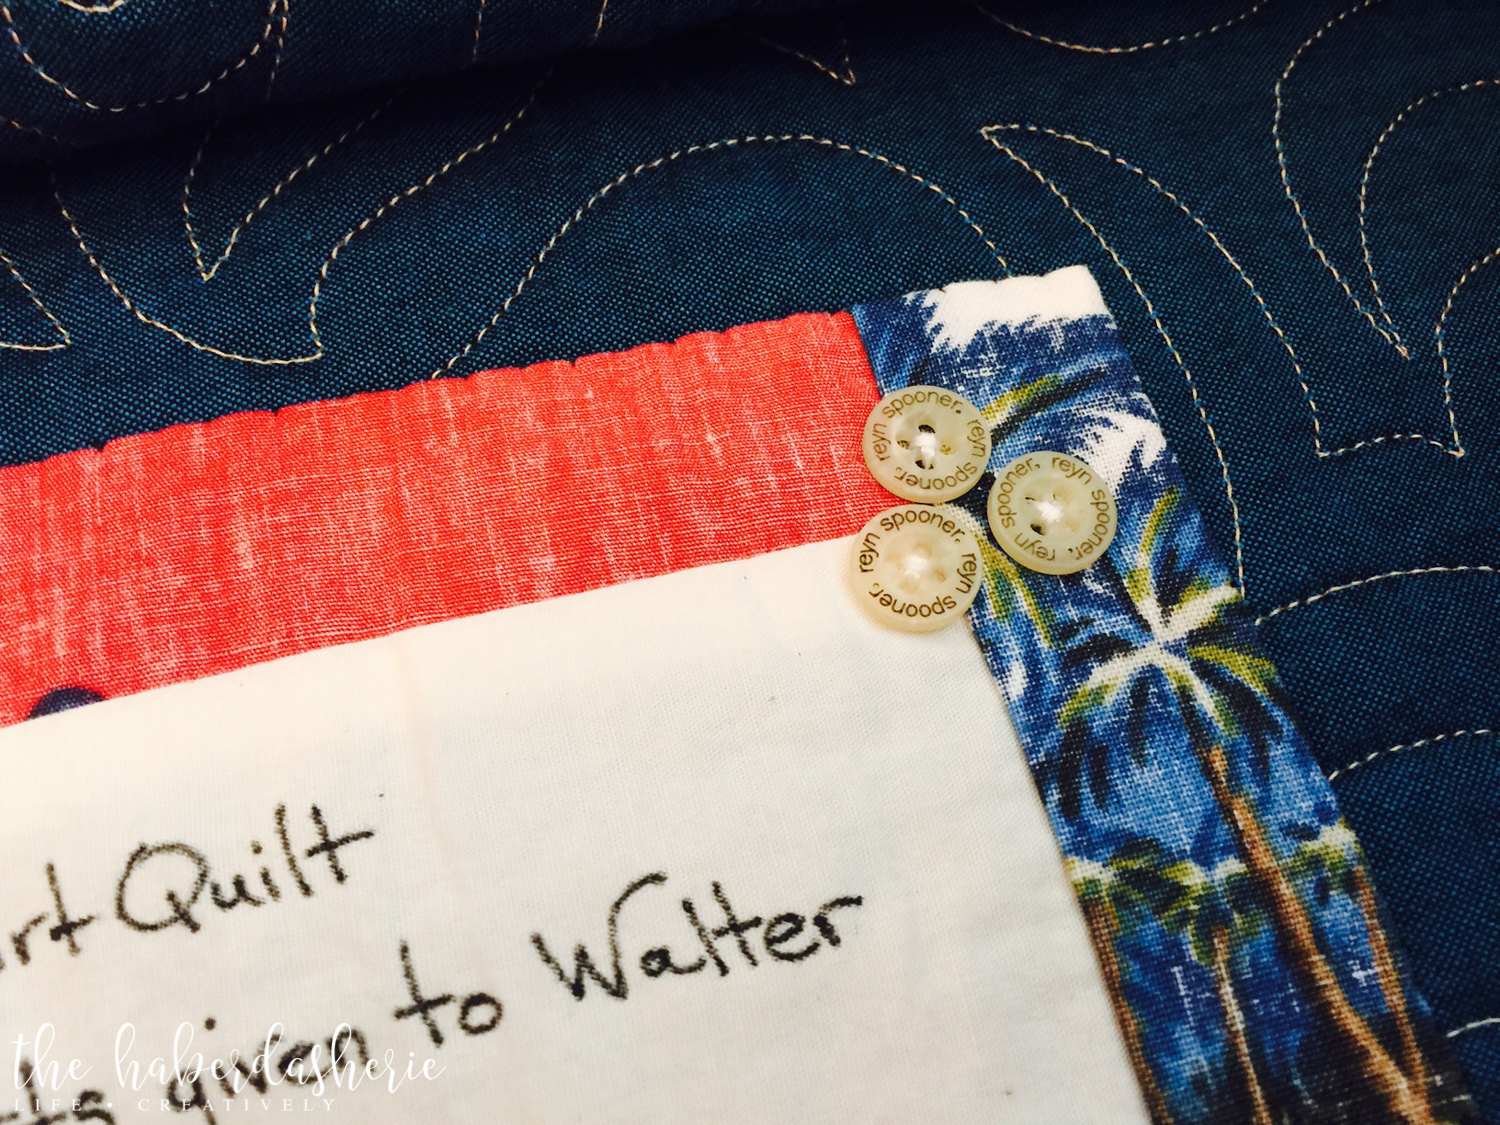
i made a quilt for my husband a few years ago, using his aloha shirts as the main fabric... i decided to add some of the shirt labels and buttons to the quilt label...
when making a quilt for my daughter's 4th birthday, i added two border rows, and a bit of rick rack...
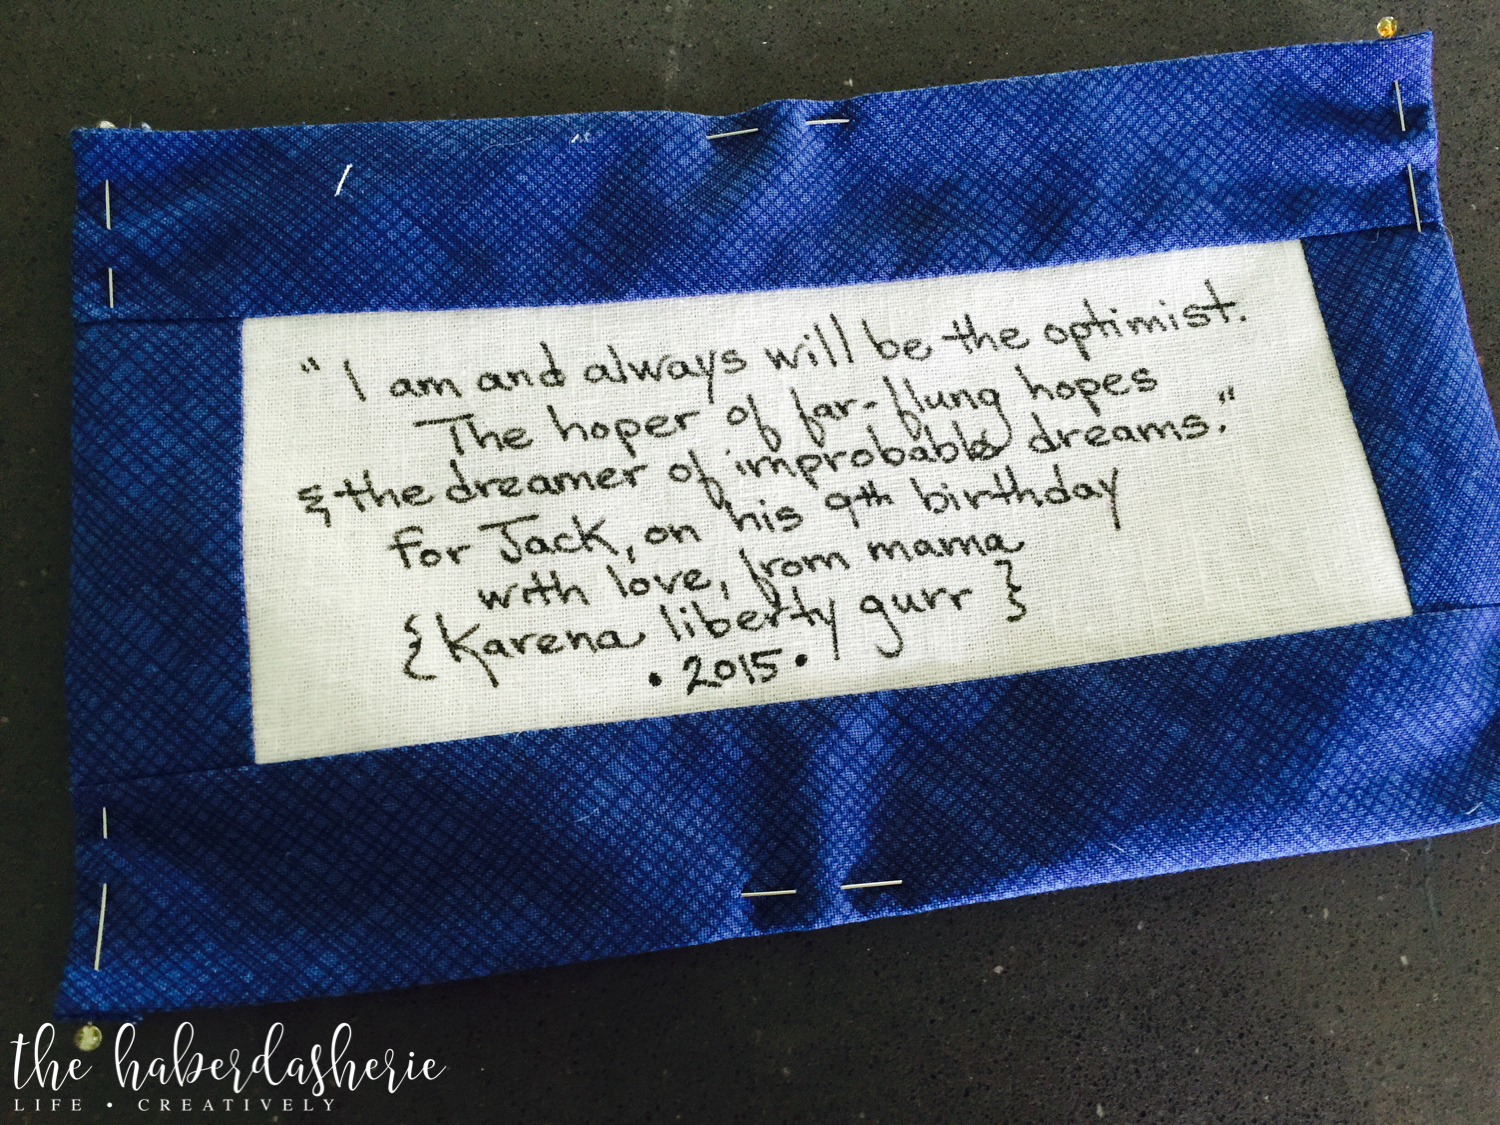
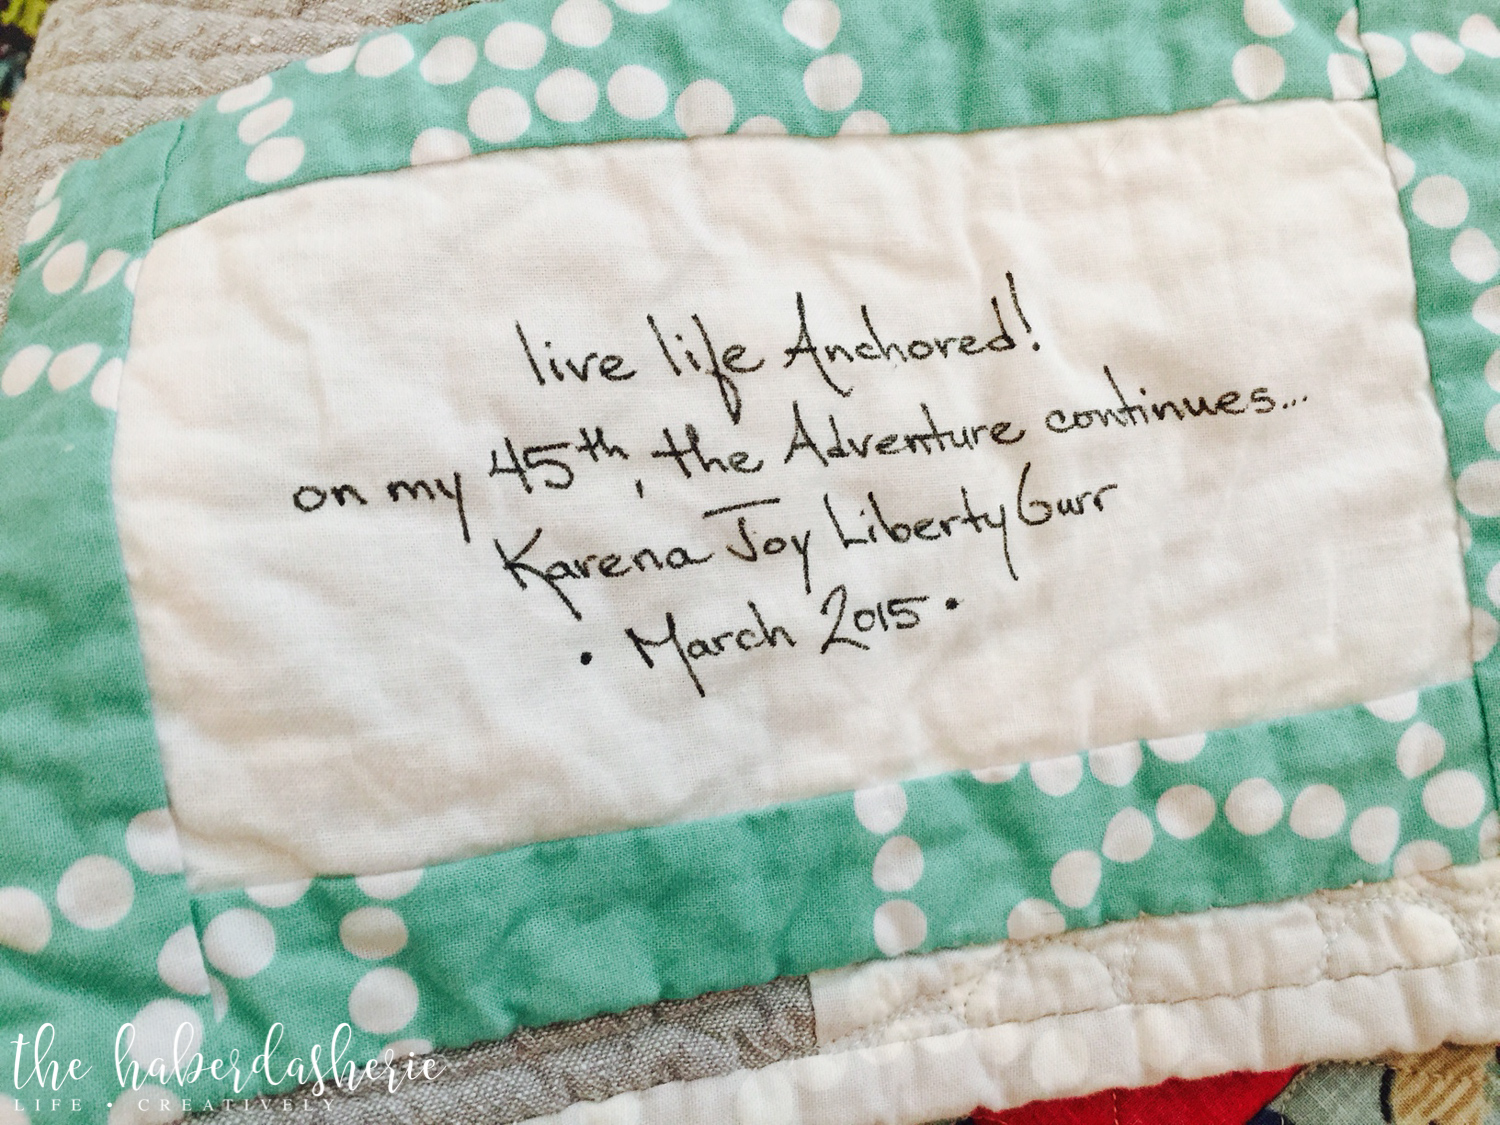
i also like to add quotes or sentiments that make me smile --- to the back of my son's dr who quilt or my own 45th birthday quilt...
with quilt labels, you can add your very own creative touches ---
go for it... experiment!
finish your project meaningfully!