
diy sashiko denim patch
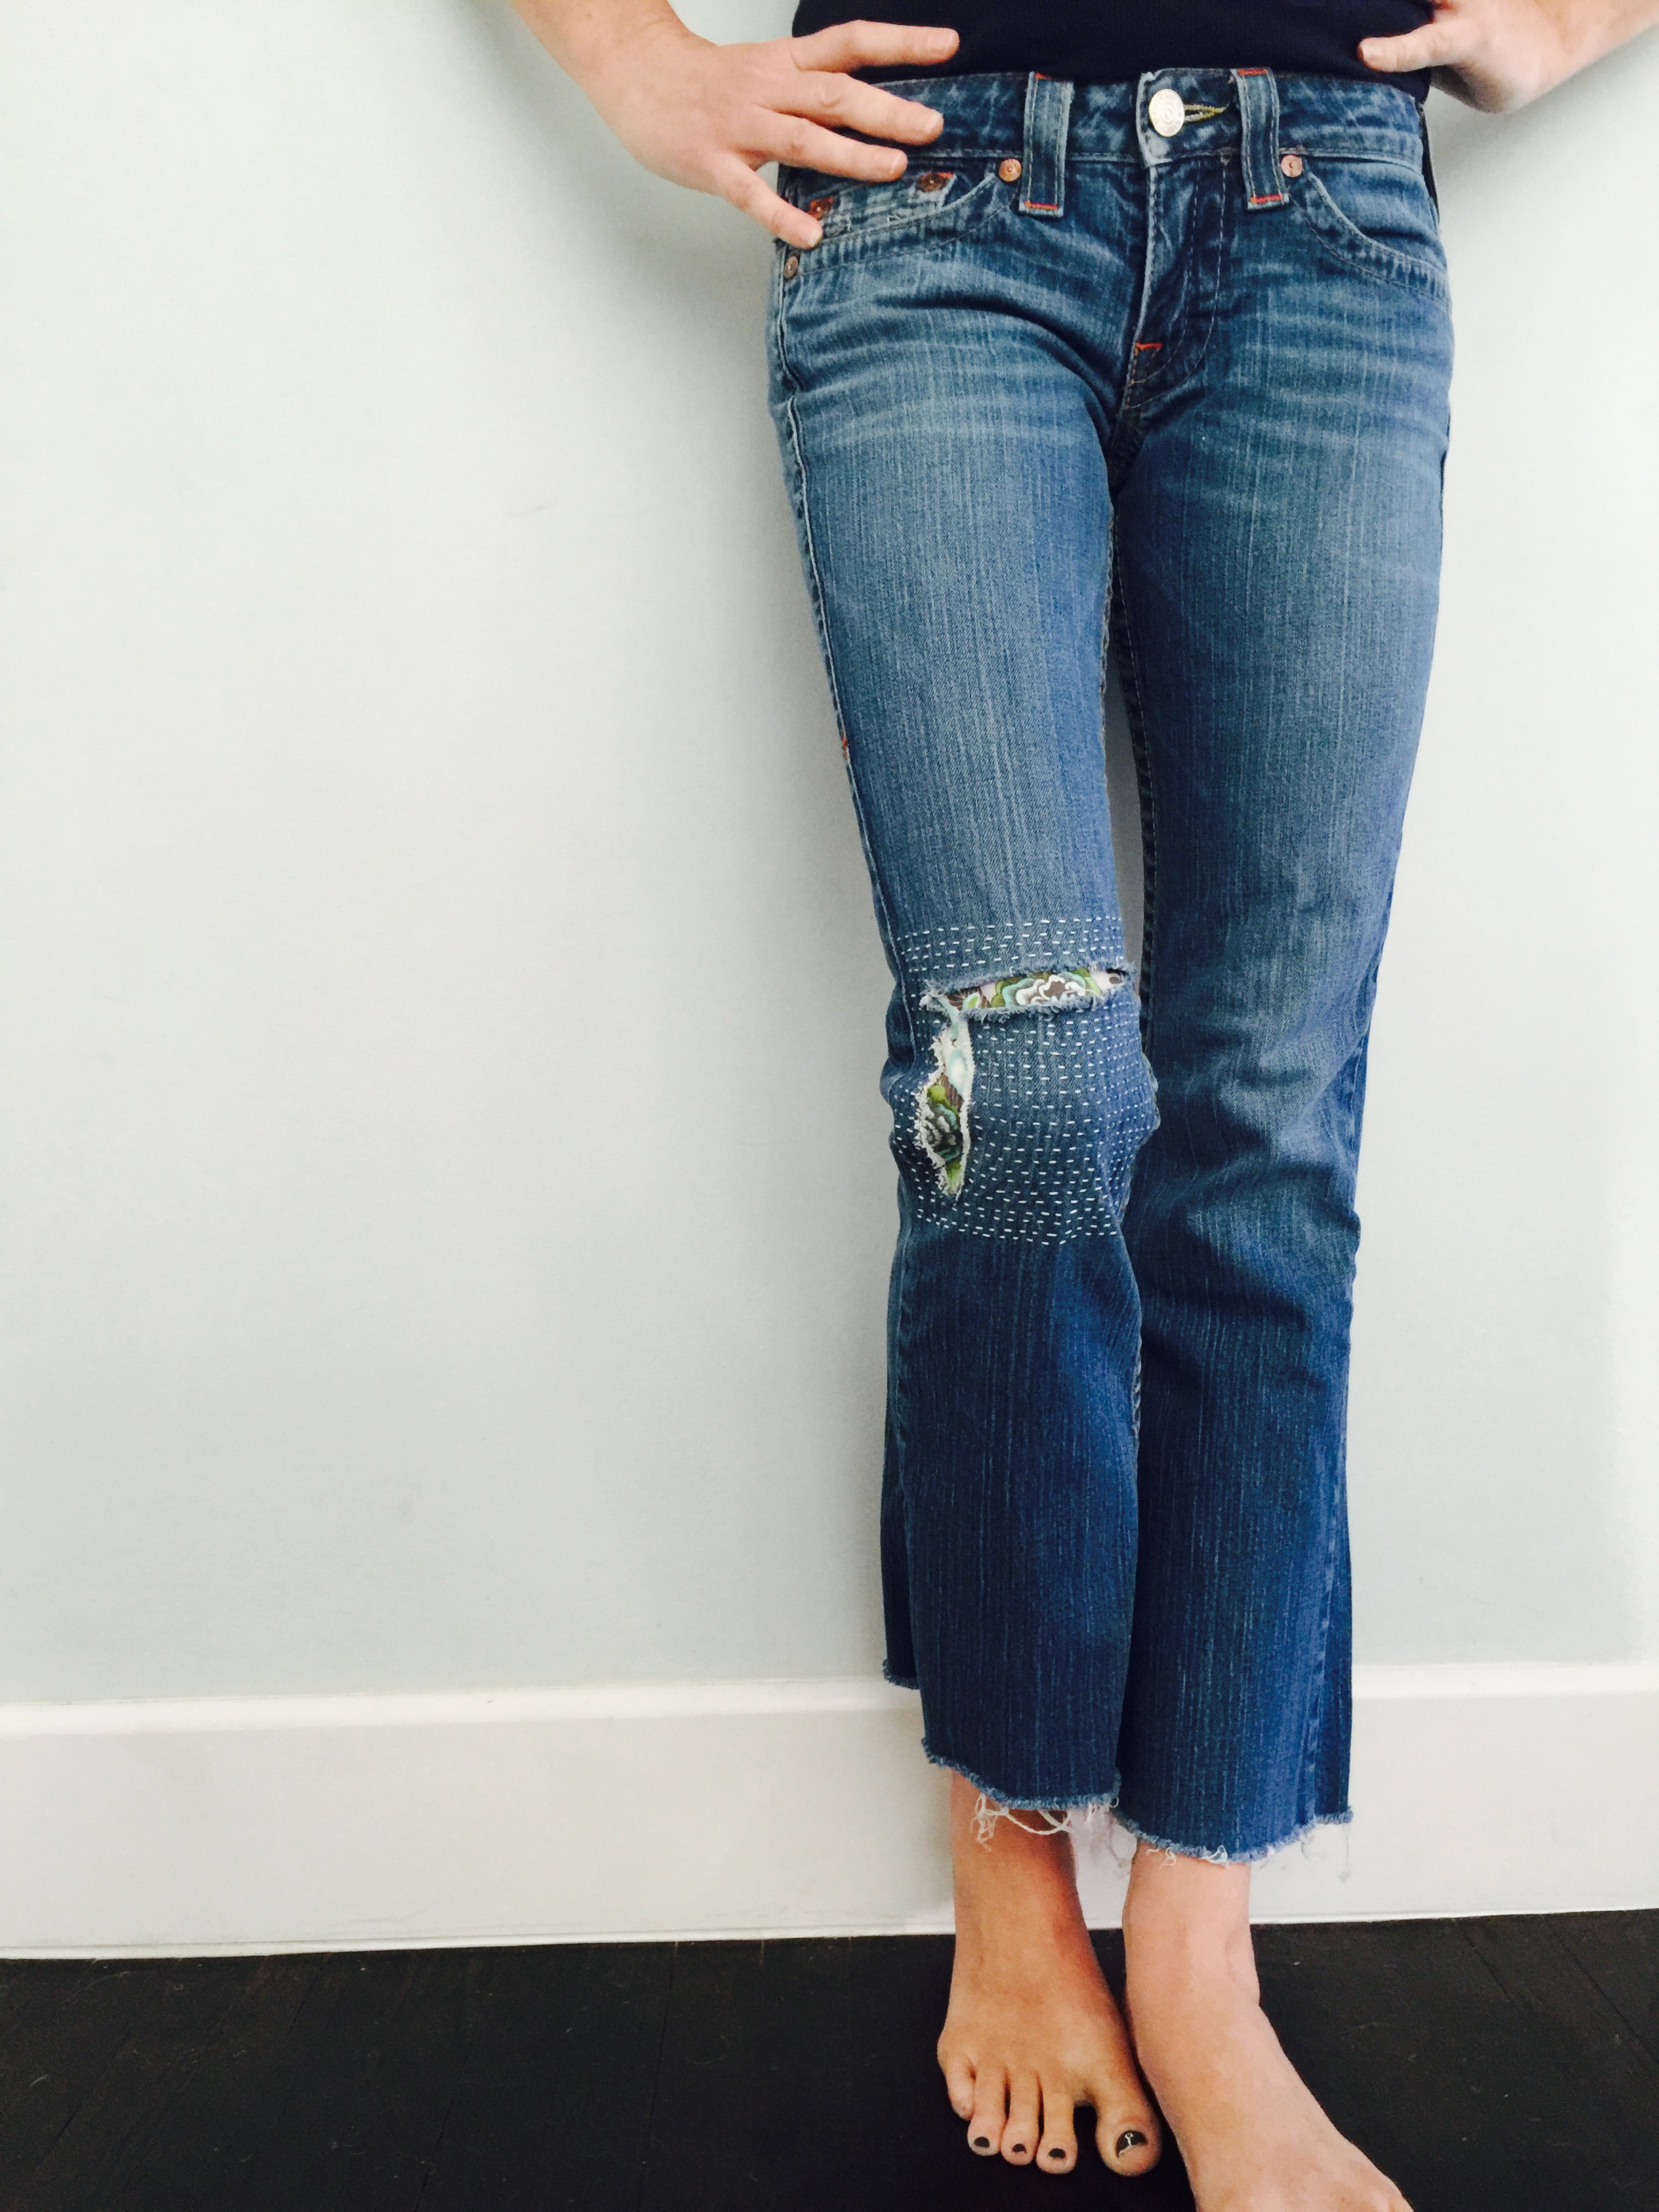
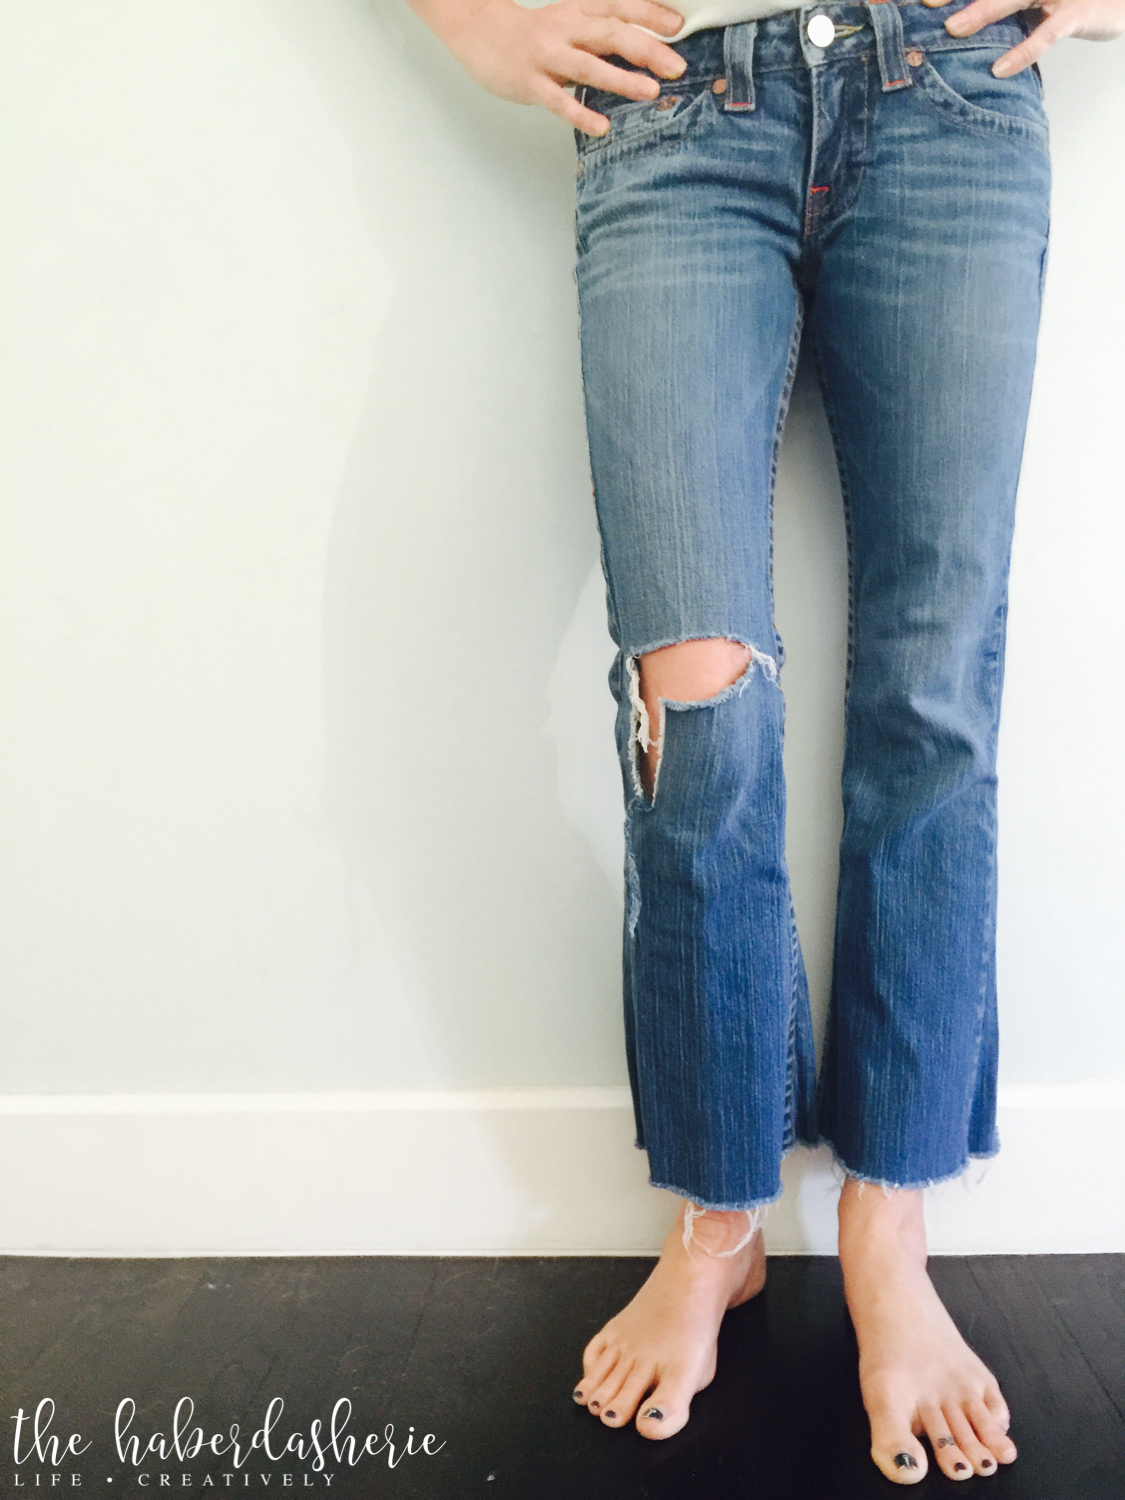
sometimes purely for decoration, sashiko stitching is a japanese art used to fix or patch tears/well worn textiles. traditionally, sashiko stitching uses white thread on blue cloth. here, i am using the running stitch to patch a hole in the knee of a very well loved pair of jeans.


to collect:
- jeans or other article to be repaired
- fabric of choice {i chose fox field by tula pink}
- sashiko thread {i chose white}
- pins
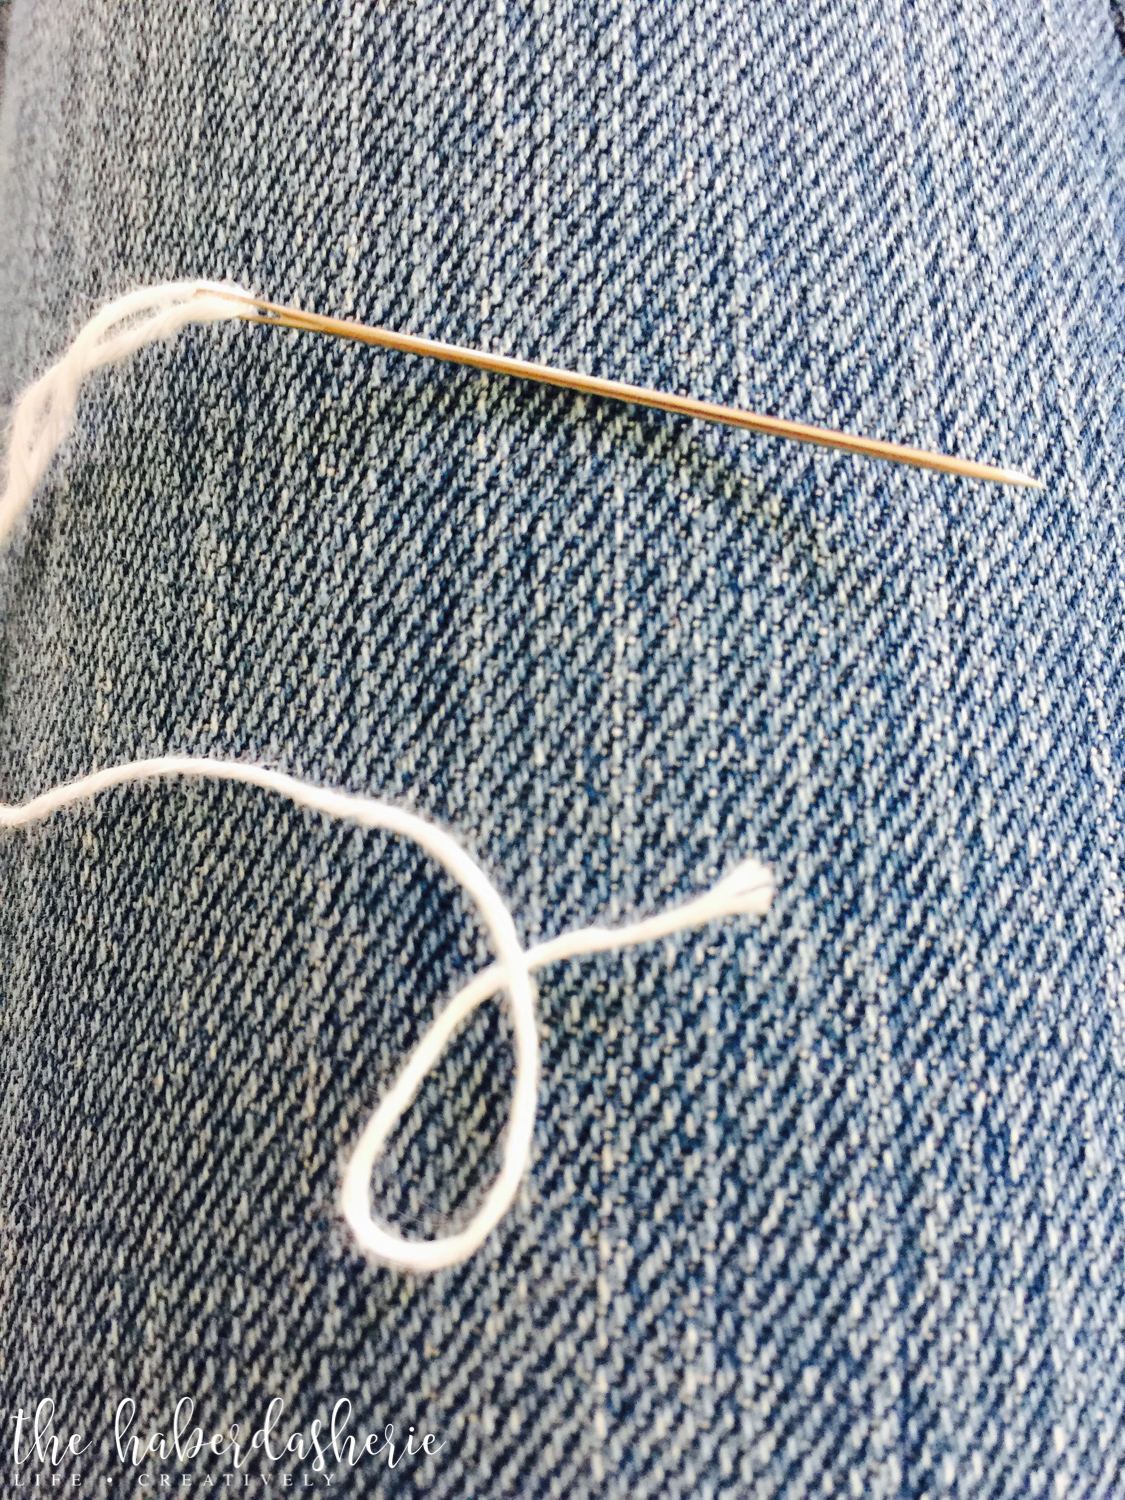
- needle {i used a 2", even thickness needle, with a large eye}
- scissors
- ruler
- fabric chalk or marker
- thimble

to do:
- choose the fabric that you love!
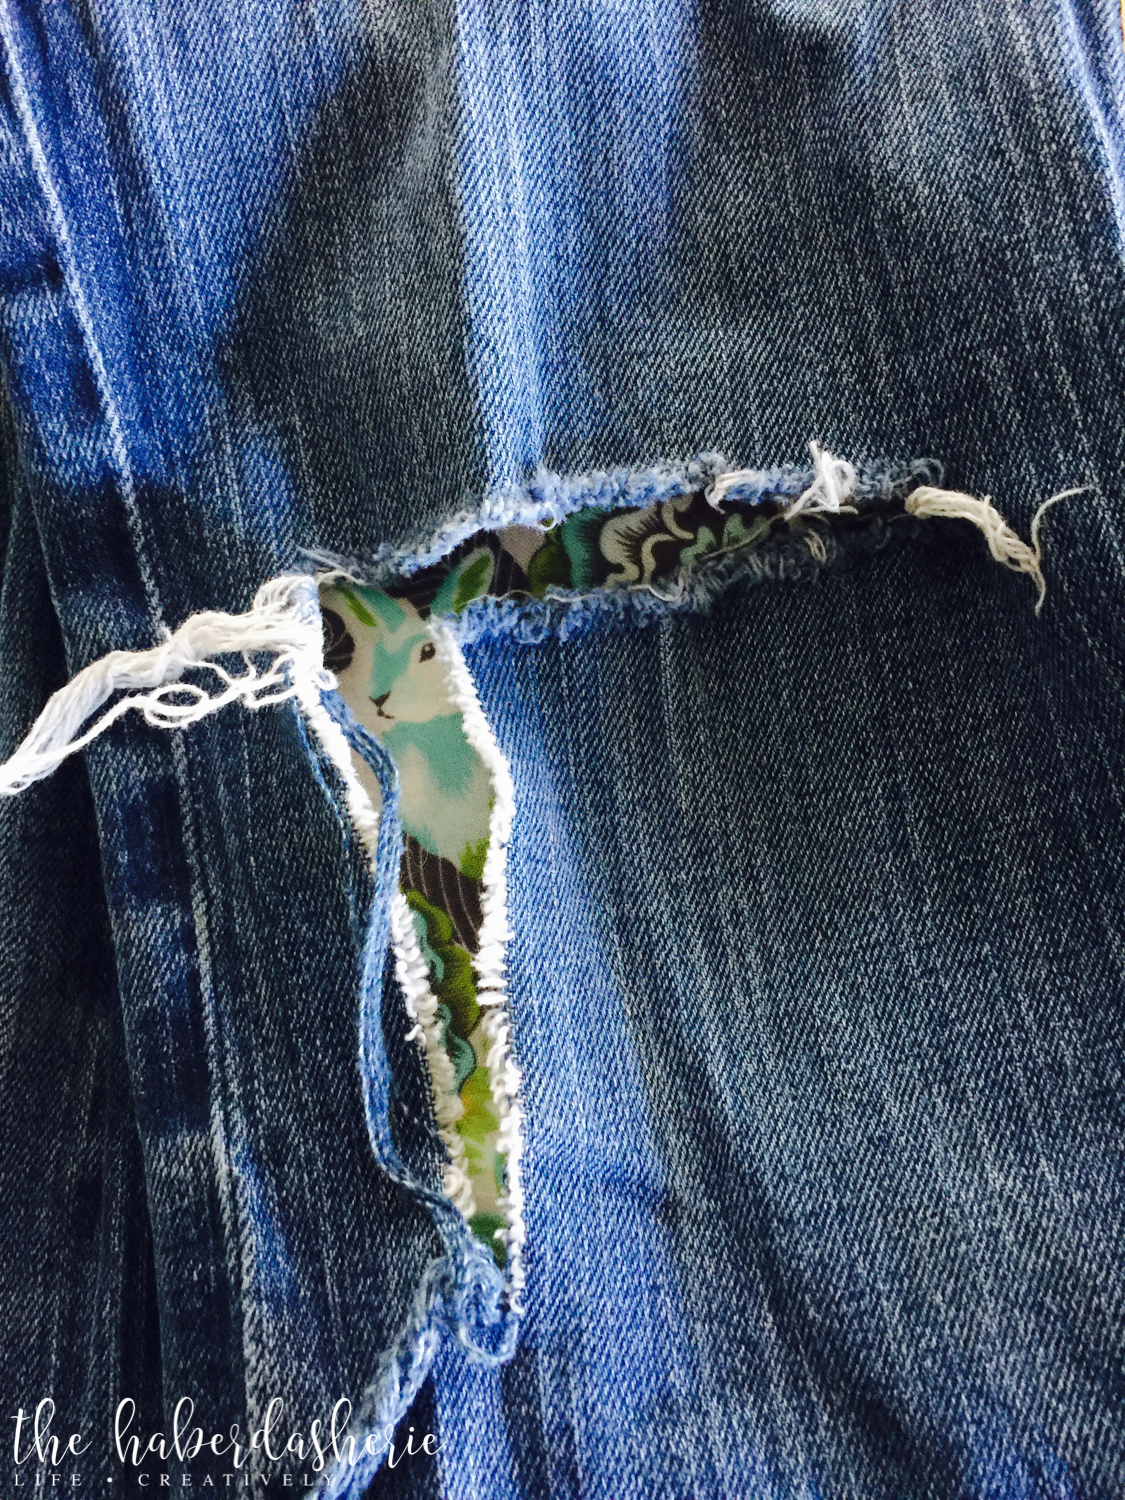
i tried a number of fabric swatches before deciding upon this lovely piece from one of my all-time favorite fabric designers: tula pink! - after choosing the fabric, measure the area you wish to patch.
add two inches to that size.
in this case, the torn area was approximately 4"x4", so the swatch ended up being 6"x6".
i also wanted the bunny in the fabric to appear to be peeking through the tear, so I "fussy cut" my fabric... - to add extra strength to the patch, i decided to double the fabric swatch.
{cutting a piece measuring 6"x12", folding + pressing the fabric swatch}
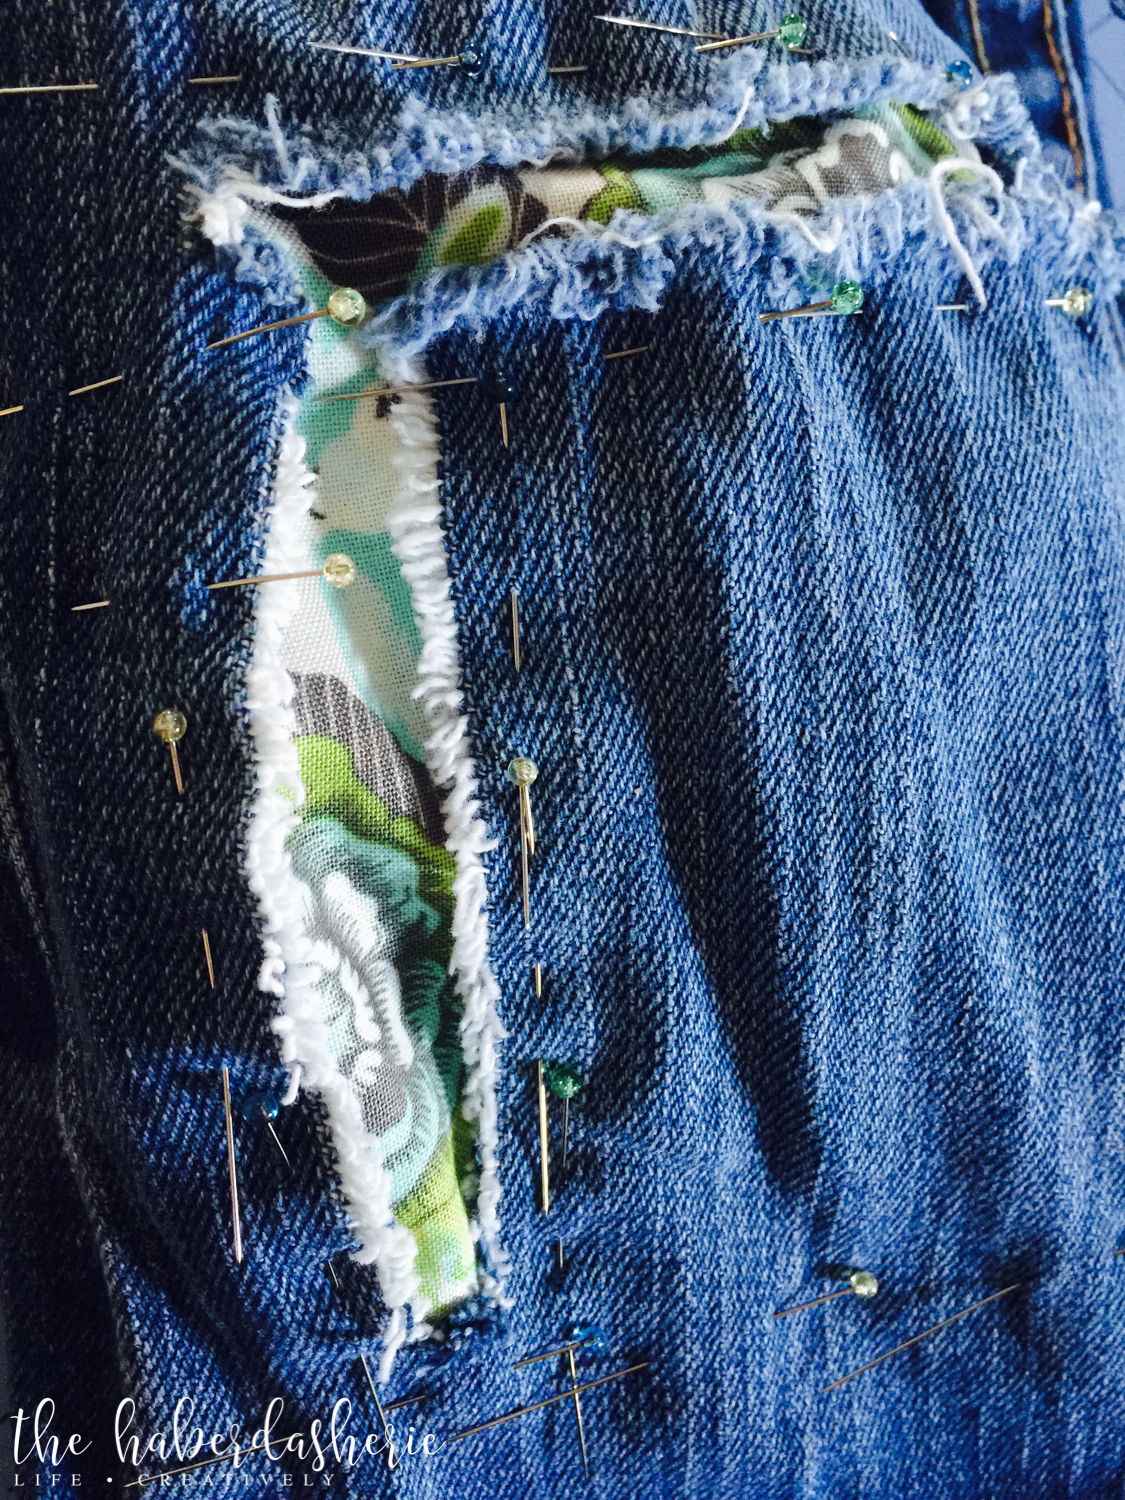
- pin! pin! pin!
be sure to pin like crazy!
if patching the knee area of denim, pull a smidge of extra fabric from within the tear to give some slack/to allow for knee-bending {if the fabric is too taut, it will tear}

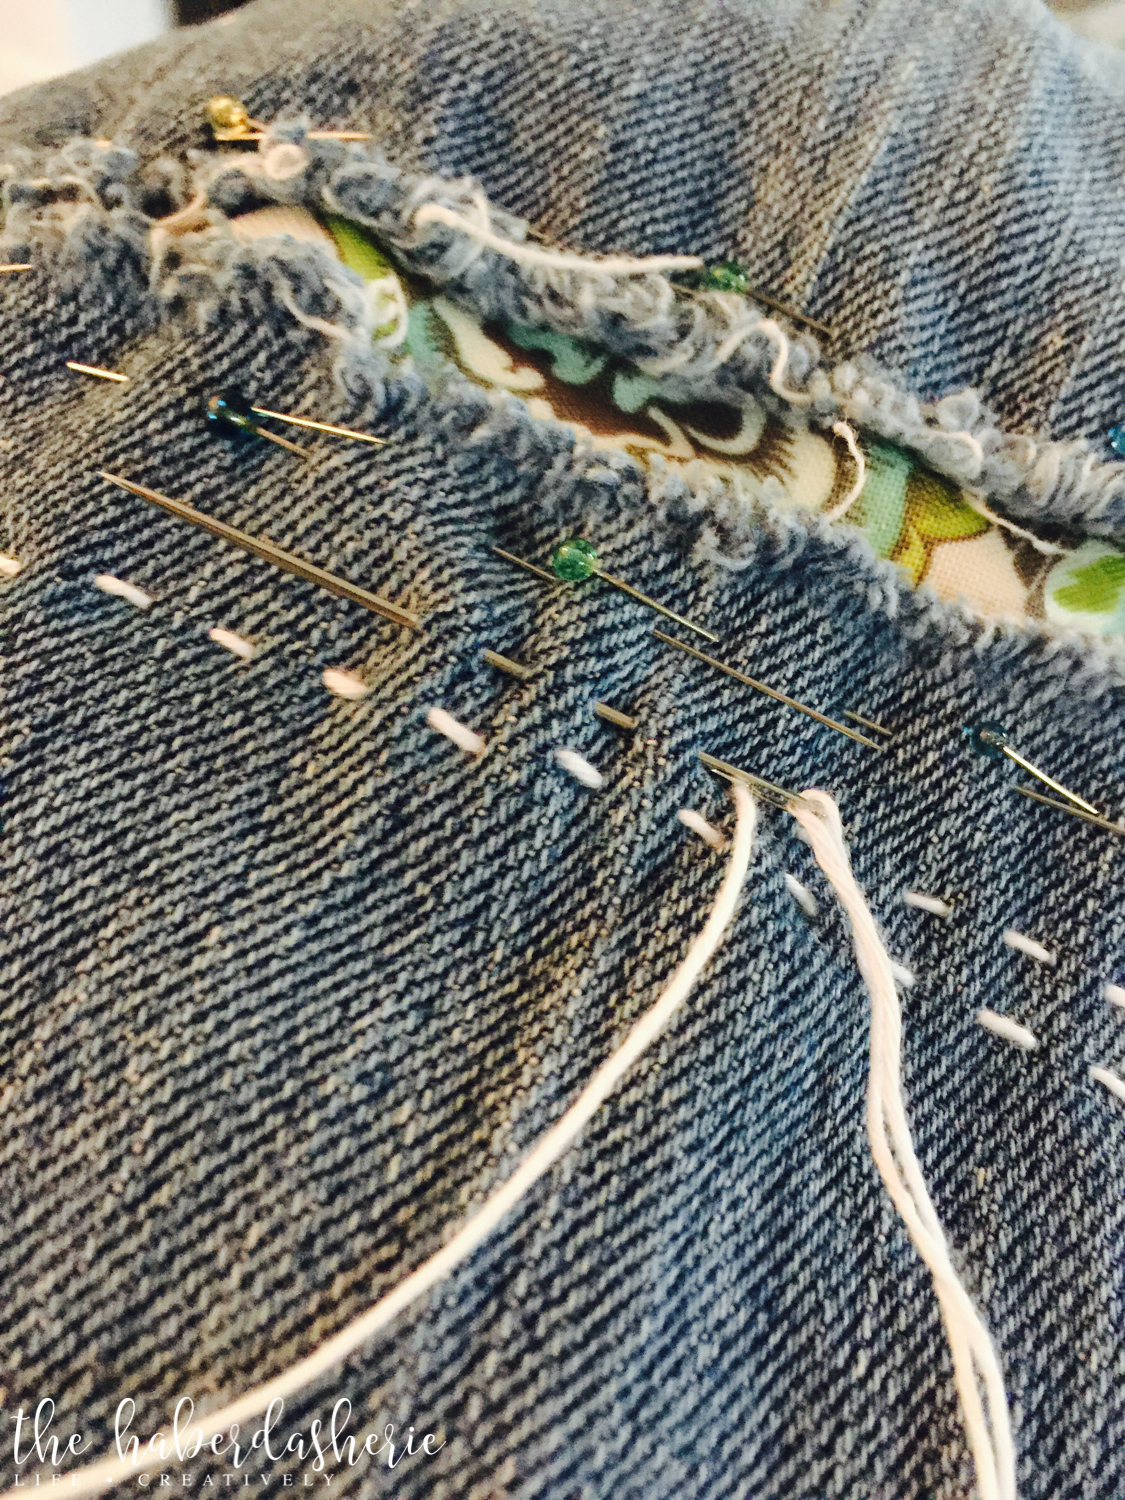
- thread your needle with 30-40" of sashiko thread + tie a double knot at the end.
- you can stitch in any direction you'd like, creating multiple patterns.
i chose a horizontal pattern. - using a ruler, mark a horizontal line for your first row of stitching {using a chalk pencil or fabric pen}

- it's very important to use a good thimble!
jean fabrics are thicker than other fabrics and a good thimble will make this a more enjoyable project -- believe me! - from inside the jean knee area, pull the thread all the way through on one end of the horizontal line.
- begin moving horizontally, making multiple stitches at a time {i did 3 or 4 before pull the needle all the way through}.
pull fabric taut/flat --- do not let the fabric gather! - continue until you have completed a row of stitches.
- for the next row, bring your needle up approximately 1/4" above or below the row you just completed.
{note: make sure you have enough thread on your needle to make it to the end of your horizontal link --- you do not want a knot in the middle of your knee area, especially when kneeling in your repaired jeans. ouch!}


- from start to finish, this project took me about 3 hours to complete.
i am in love with the outcome!